Hi everyone, i'm new to the forum as well as new to teensy ....
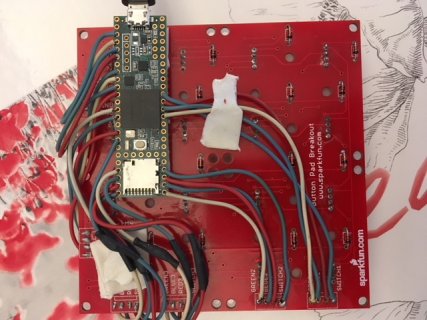
I'm using a Teensy 3.5
So basically i would like to make a keypad to record keyboard shortcuts to be used with softwares that i use the most, like autocad, photoshop or even obs studio ....
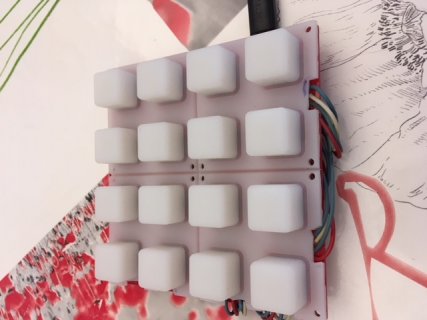
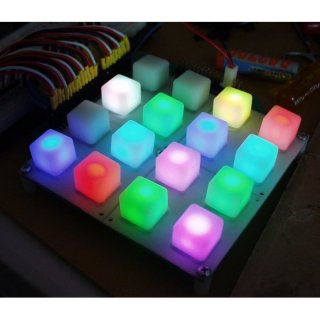
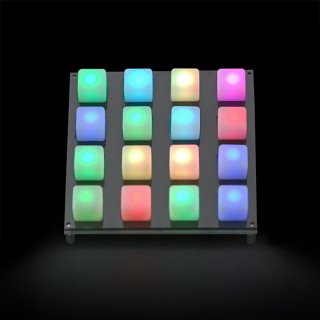
Anyway, instead of buying new stuff i've started using all electronic pieces that i've already bought through the years and my starting point is a Sparkfun 4x4 button pad with RGB leds.
So my only problem is this:
While keypad matrix code that i'm writing works perfectly for what i have to do ....
I'm not able to find a very simple ways to make those rgb leds turning on.
I'm not looking for something complex, with animations or patterns ..... not even blinking .... i would simply to give each led a precise color, fixed, not fading ... nothing fancy ..... just a color.
And the only problem that i'm facing is that all codes and tutorials that i find online are too new for that board ... or they make something completely different ......
So here is the code that i'm using for the keypad
#include <Keypad.h>
int buttonState = 0;
const byte ROWS = 4; //four rows
const byte COLS = 4; //three columns
char keys[ROWS][COLS] = {
{'1', '2', '3', 'a'},
{'4', '5', '6', 'b'},
{'7', '8', '9', 'c'},
{'*', '0', '#', 'd'}
};
byte rowPins[ROWS] = {16, 36, 32, 25}; //connect to the row pinouts of the keypad
byte colPins[COLS] = {8, 6, 3, 1}; //connect to the column pinouts of the keypad
Keypad keypad = Keypad( makeKeymap(keys), rowPins, colPins,
ROWS, COLS );
void setup() {
// Serial.begin(9600);
}
void loop() {
char key = keypad.getKey();
if (key) {
switch (key) {
case '0':
Keyboard.press (KEY_Q);
delay(300);
Keyboard.release (KEY_Q);
break;
case '1':
Keyboard.set_modifier(MODIFIERKEY_CTRL);
Keyboard.set_key1(KEY_A);
Keyboard.send_now();
delay(300);
Keyboard.set_modifier(0);
Keyboard.set_key1(0);
Keyboard.send_now();
break;
}
}
}
Any help would be highly appreciated !!!!


