Hi,
I have one of your breakout boards from tindie - I've not used it yet (not enough hours in the day!) but it looks great

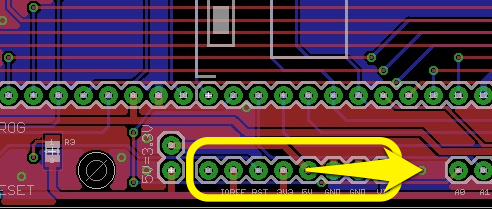
It would be nice to see your Arduino shield adapter completed.
I too have your breakout boards, 2 of them in fact, and am delighted with them. There is a learning curve for building them and I wished I had a good tutorial with advice. But I figured it out after planning a lot. My advice to anyone building these for the first time:
1) First, solder the two short headers on the bottom of the teensy 3. For each short header, solder just one pin on the end, check alignment, re-melt if necessary. Try to get the alignment perfect by eyeball and feel (don't touch the pin you are soldering) then solder the pin on the opposite end. You don't have to solder all the pins right now, just the two outside ones are enough.
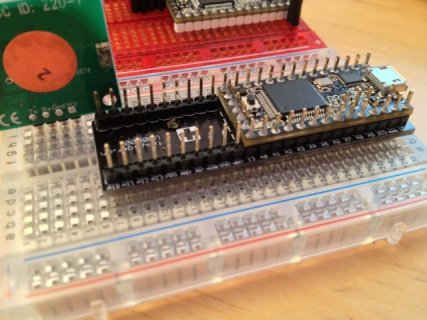
On my second build, I placed these short headers upside down so that they protrude above the teensy 3 just about the right amount so that I can attach female jumper wires.
2) Solder the "bent" header to the bottom of the teensy 3. To do this, assemble the breakout, bent headers, 1 40 pin header, and the teensy 3 without soldering yet to get the bent headers aligned as best you can. You are going to solder the two outside pins on one side of the bent header. One side will be easier than the other side, so pick the easy side to solder first. Put the 40 pin header in place on the opposite side. This leaves a gap between the breakout board and the teensy 3 just large enough to tack solder two pins without harming anything else. Once you have the two pins tack soldered, you can carefully disassemble the whole thing and finish soldering the remaining bent header pins.
On my second build, after soldering the bent header pins, I removed the plastic spacer. This allows the teensy 3 to ride a little lower on the breakout board.
3) Finally, on my second build, I used extra long 40 pin headers. This made them rise up about the same height as the two upside down short headers.
Both of these are for easy prototyping and learning, so that's why I have every pin easily jumper-ed or probed.
That's what I learned. Thought I'd share. Here's a picture of my second build...


